Bodyweight Workout Plan: An 8-Week No Equipment Routine to Build Strength at Home
A practical bodyweight workout plan you can run in a room with no equipment at all: six movement patterns, three self-tests to find your starting level, eight weeks of written progression and the exact push-up, squat and row ladders that turn a wobbling half rep into ten clean ones.
Key takeaways
- Bodyweight training builds real muscle when you progress leverage, tempo and range instead of adding load.
- Six patterns — push, pull, squat, hinge, brace and carry-style loaded holds — cover your whole body without equipment.
- Test three movements first so you start at a level you can actually control, not the level you wish you were at.
- Three sessions a week for eight weeks beats six sessions a week for eleven days.
- Most beginners earn their first clean full push-up somewhere between week five and week nine.
I have programmed for roughly 1,100 people with no equipment at all since then, and the pattern repeats. What stops beginners is almost never the absence of a barbell. It is that a bodyweight workout plan found online gives them thirty push-ups they cannot do, twenty burpees that wreck them for four days, and no instruction at all about what to change next week. Then they conclude their body is the problem.
So this guide is deliberately built the other way around. You will find three short self-tests to establish where you actually are, six movement patterns that cover your entire body, an eight-week plan with the progression written down in advance, and detailed ladders for the push-up, the squat and the row so you always know what the next harder version is. It needs a floor, a wall, a sturdy chair and a door frame. Nothing else.
Can you actually build muscle with no equipment?
Yes, and the mechanism is less mysterious than the internet makes it sound. Muscle grows in response to mechanical tension held through a challenging range of motion, taken reasonably close to the point where you could not complete another good repetition. A muscle fibre does not know whether the resistance came from a dumbbell, a kettlebell or your own torso hanging off your shoulder joints. It knows how hard it had to work and for how long.
The honest limitation is not the absence of equipment, it is the difficulty of getting a bodyweight exercise heavy enough for the biggest muscles in your body. Nobody struggles to make their chest work with push-ups. Making a two-legged squat genuinely hard for strong quadriceps and glutes is another matter, which is why every serious bodyweight plan moves towards single-leg work early. A split squat loads one leg with roughly 80 to 85 per cent of your body weight in a much longer range of motion. That is a real training stimulus, not a warm-up.
Research comparing bodyweight and weighted training in untrained and moderately trained people has repeatedly landed in the same place: when sets are taken to a similar proximity to failure and volume is matched, muscle growth is broadly comparable. Strength expressed on a barbell will favour the group that trained on a barbell, because strength is specific to the task. Muscle is far less fussy.
The advantage that rarely gets mentioned is friction. A session that starts on your own floor removes the commute, the changing room, the wait for a rack and the entire negotiation about whether you feel like going. Across a year that is the difference between forty sessions and one hundred and twenty, and one hundred and twenty mediocre sessions will beat forty excellent ones every time.
The six patterns a no equipment plan has to cover
You do not need forty exercises. You need six jobs done every week, each with a version currently hard enough to challenge you and an obvious next step when it stops being hard. Everything in the plan below is one of these six.
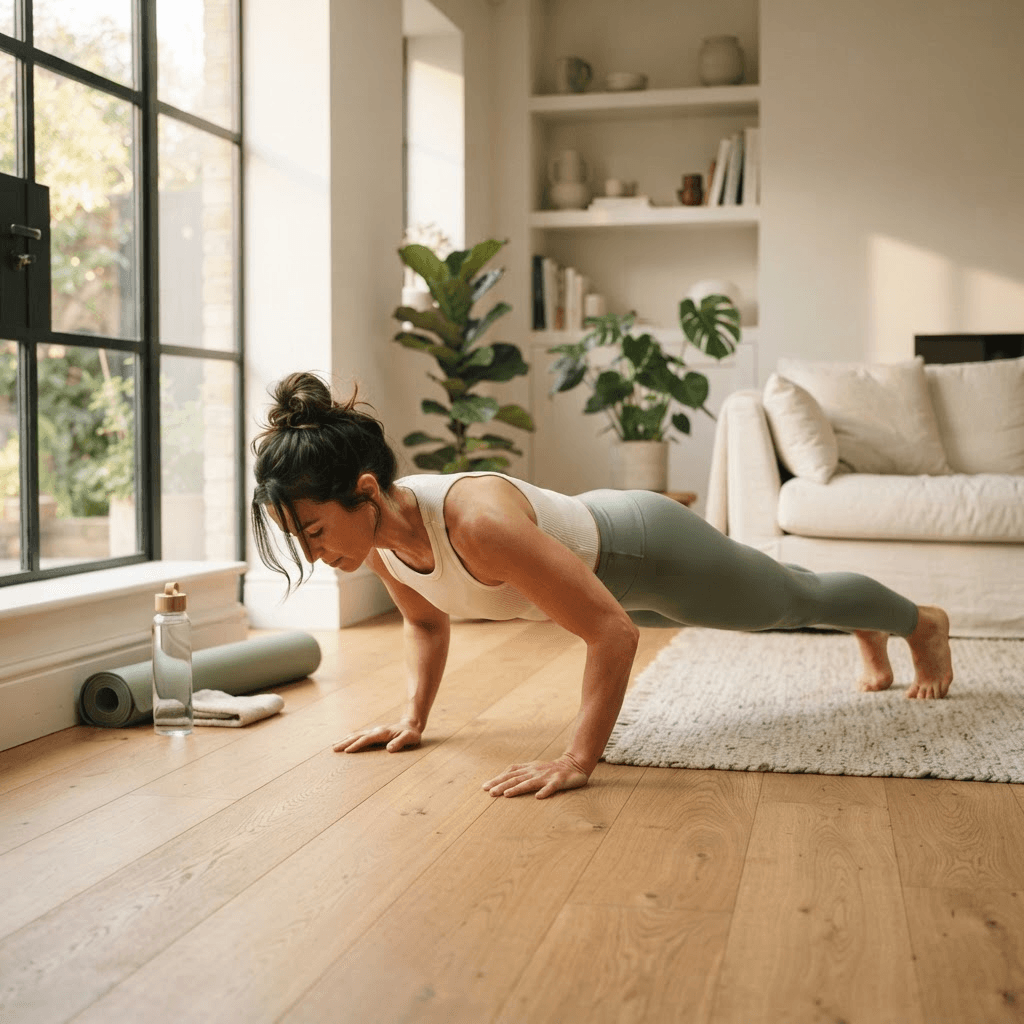
- Horizontal push �� moving weight away from your chest. Incline push-up, full push-up, then narrow or elevated-feet variations. Chest, shoulders, triceps.
- Horizontal pull — dragging your torso towards your hands. Doorway row, table row or towel row anchored on a door handle. Lats, mid-back, biceps, and the single best antidote to a day spent at a desk.
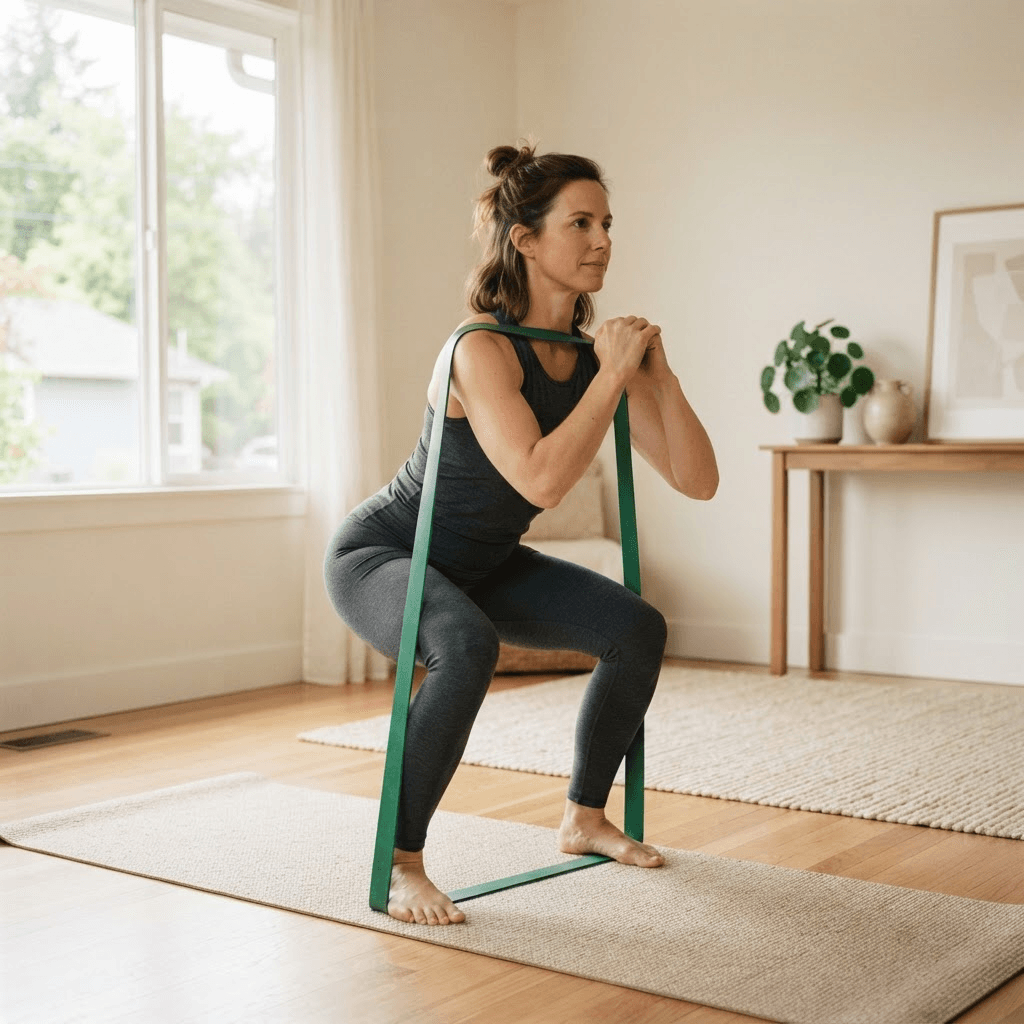
- Squat — knee-dominant bending under load. Bodyweight squat, split squat, then step-down and single-leg squat to a seat. Quadriceps, glutes, trunk.
- Hinge �� pushing the hips backwards with a long spine. Single-leg Romanian deadlift, hip thrust from the floor, then a Nordic-style curl regression. Hamstrings and glutes.
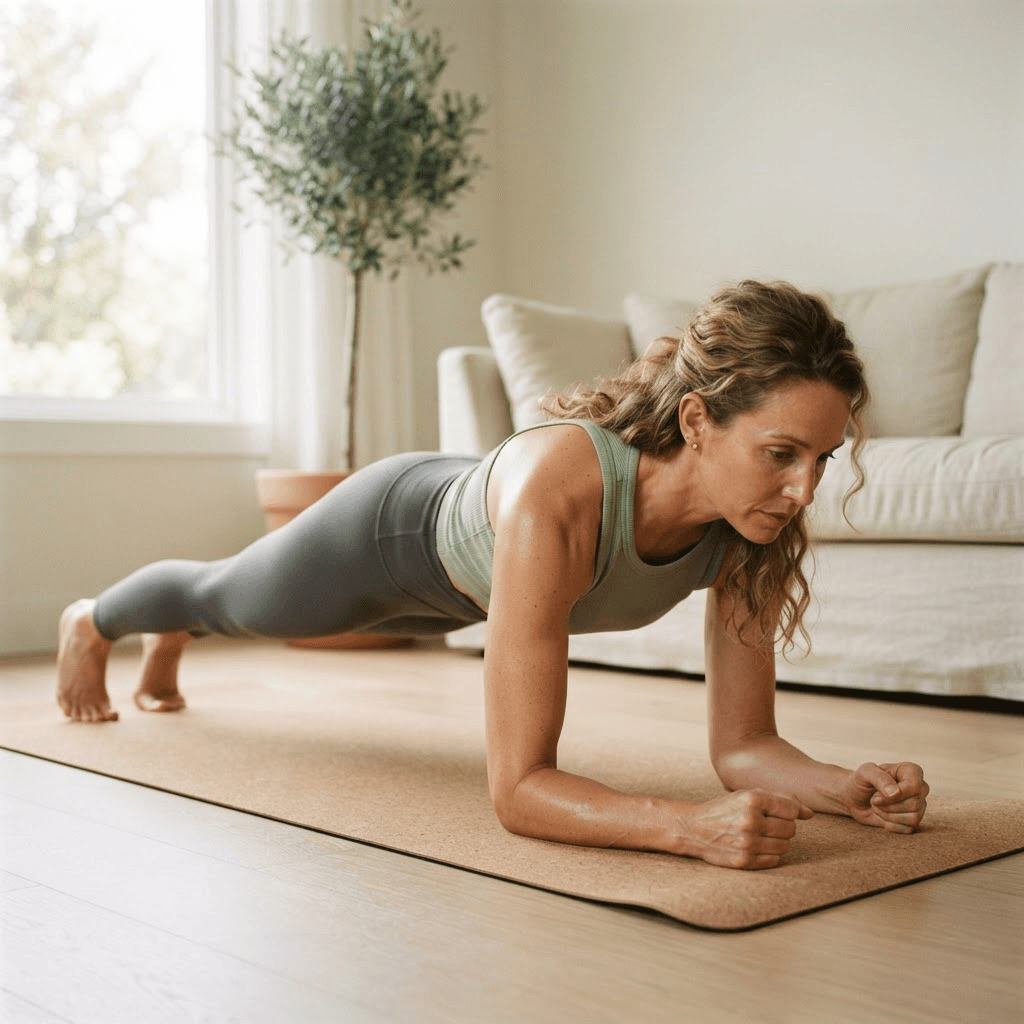
- Brace — resisting movement rather than producing it. Hollow hold, dead bug, side plank. This is what people mean by core strength when they say it properly.
- Vertical push or overhead work — pike push-up or wall-supported shoulder press. Shoulders and upper back, and the pattern most home routines forget entirely.
Notice there are no burpees, no jumping jacks and no mountain climbers. Those are conditioning, not strength, and mixing the two into one exhausted circuit is the reason so many home workouts leave people breathless without ever making them stronger. Conditioning has its own section further down, and its own place in the week.

Three tests that tell you where to start
This is the step almost everyone skips, and skipping it is why plans fail in week two. Do these three tests on a day when you are reasonably fresh, write the numbers down, and let them choose your starting variations. It takes about eight minutes.
Test 1 — the push test
Place your hands on a kitchen counter, walk your feet back until your body is one straight line, and perform push-ups lowering for two seconds and pressing up for one. Stop when your hips sag or your elbows flare outwards. If you managed more than twelve, drop to a lower surface — a dining chair, then a sofa edge, then the floor — and repeat. The surface where you can complete eight to twelve controlled reps is your starting height.
Test 2 — the squat test
Perform bodyweight squats to the lowest depth you can reach without your heels lifting or your lower back rounding, three seconds down and one second up. If you pass fifteen reps comfortably, you are strong enough that two-legged squats will not build much, and you begin the plan with split squats instead. Under fifteen, start with two-legged squats and progress from there.
Test 3 — the brace test
Lie on your back, press your lower back flat into the floor, then lift your shoulders and your straight legs slightly off the ground into a hollow hold. Time how long you keep the lower back flat. The moment a gap appears under your spine, the test is over — not when you get tired. Under fifteen seconds, start with dead bugs. Fifteen to thirty seconds, start with tuck hollow holds. Over thirty, start with the full straight-leg version.
| Test result | Starting push | Starting squat | Starting brace |
|---|---|---|---|
| Fewer than 8 counter push-ups | Wall push-up, 3 × 8 | Sit-to-stand from a chair, 3 × 10 | Dead bug, 3 × 8 per side |
| 8–12 counter push-ups | Counter or chair push-up, 3 × 8 | Bodyweight squat, 3 × 12 | Tuck hollow hold, 3 × 20s |
| 8–12 chair push-ups | Sofa-height push-up, 3 × 8 | Split squat, 3 × 8 per leg | Hollow hold, 3 × 25s |
| 8+ floor push-ups | Full push-up with 3s lowering, 4 × 8 | Step-down to a low stool, 3 �� 8 per leg | Hollow hold, 3 × 35s |
If your three results land in three different rows, that is completely normal and not a problem to solve. Start each pattern at its own level. The person who can do fifteen floor push-ups and eleven seconds of a hollow hold is extremely common, and forcing both to the same tier is how you end up training one pattern too easy and the other into the ground.
The 8-week bodyweight workout plan
Three sessions a week, alternating between two workouts, with at least one full day between them. A common week is Monday, Wednesday and Friday, or Tuesday, Thursday and Saturday. Each session runs 30 to 40 minutes including the warm-up. Two sessions a week still works and will still make you stronger — it simply takes about eleven weeks to cover what three does in eight.
Warm-up, every session (5 minutes)
- 30 seconds of marching on the spot, then 30 seconds of faster knee lifts
- 10 slow arm circles backwards, then 10 forwards
- 8 cat-cow repetitions on hands and knees
- 8 bodyweight squats to a comfortable depth
- 5 push-ups at one surface height easier than your working level
Workout A
- Push variation at your tested level — 3 sets of 8 reps, 3 seconds lowering
- Doorway row or towel row — 3 sets of 10 reps
- Split squat or bodyweight squat at your tested level — 3 sets of 8 per leg
- Glute bridge, both feet on the floor — 2 sets of 12 reps with a 2-second squeeze at the top
- Hollow hold or dead bug at your tested level — 3 sets
Workout B
- Pike push-up or wall-supported overhead press — 3 sets of 6 reps
- Towel row, hands close together — 3 sets of 10 reps
- Single-leg Romanian deadlift — 3 sets of 8 per leg, 3 seconds lowering
- Step-up onto a stair or low stool — 2 sets of 10 per leg
- Side plank — 3 sets of 20 to 40 seconds per side
Rest 90 seconds after the first two exercises in each session and about 60 seconds after the rest. If you are still breathing hard when the timer goes, take another thirty seconds — a set cut short by fatigue in your lungs is a wasted set for a muscle that had more to give. In week one, alternate A, B, A. In week two, B, A, B. Carry on alternating.

Progressive overload without any weight to add
Here is the whole reason most bodyweight plans stop working: people do the same thirty push-ups every week for a year and then decide that bodyweight training has a ceiling. It does not. It has five levers, and you pull them one at a time.
- Reps — add one repetition per set per week until you reach the top of the range, then move on to the next lever.
- Leverage — lower the surface your hands are on, elevate your feet, or move to one limb. This is the closest thing to adding weight, and it is powerful.
- Tempo — slow the lowering phase from two seconds to three, four, then five. A five-second eccentric turns an easy push-up into a hard one without moving your hands.
- Range of motion — deepen the squat, put your chest all the way to the floor, elevate your hands on books so your chest drops below them.
- Density — hold the same work and shorten the rest, or add a set. Use this one last; it buys conditioning more than strength.
Pull one lever at a time and only when a set genuinely feels controlled at the top of its rep range with two reps still in reserve. The classic mistake is changing three levers at once — dropping to the floor, adding four reps and slowing the tempo in the same week — which produces a session so hard you cannot train again for five days and gives you no information about what actually caused it.
How to know you have earned the next step
| Phase | Weeks | Focus | What changes |
|---|---|---|---|
| Phase 1 | 1–2 | Own the positions | Stay at your tested level, add 1 rep per set per week, film one set from the side in week 2 |
| Phase 2 | 3–5 | Slow everything down | Extend the lowering phase to 4 seconds on pushes and squats, hold rep counts steady, add the second set of hinge work |
| Phase 3 | 6–7 | Change the leverage | Drop one surface height on pushes, move squats towards single leg, return tempo to 3 seconds and rebuild reps from 6 |
| Phase 4 | 8 | Deload and retest | Two sessions only, one surface easier, 2 sets instead of 3, then repeat the three tests from section three |
Week eight looks like a wasted week and is not. Accumulated fatigue in tendons and in the nervous system masks the strength you built, and lifting the fatigue is how you find out what is underneath. Almost every client retests noticeably better after an easy week than they did in week seven, which is also excellent for morale. Then you run the whole thing again from your new numbers.

The three progressions worth memorising
These are the ladders I hand to every beginner. Each rung is a real exercise, and you climb when two consecutive sessions say you can. Print them, or write them inside the cover of your notebook.
The push-up ladder
- Wall push-up, hands at chest height
- Kitchen counter push-up
- Dining chair or windowsill push-up
- Sofa or bed-edge push-up
- Bottom stair push-up
- Knee push-up with a full-length body line from knees to head
- Full floor push-up, 2 seconds down
- Full floor push-up, 4 seconds down and a 1-second pause at the bottom
- Feet elevated on a stair, or hands elevated on books for extra depth
The two cues that fix most push-ups
First, angle your elbows back at roughly 45 degrees rather than flaring them out level with your shoulders. Elbows out puts the shoulder joint in its least stable position and is the single most common source of the front-of-shoulder ache people blame on push-ups. Second, squeeze your glutes and brace your midsection before you descend so your hips travel with your chest instead of sagging behind it. A push-up is a moving plank; if the plank fails, the push-up is no longer training what you think it is.
The squat ladder
- Sit-to-stand from a dining chair
- Bodyweight squat to a comfortable depth
- Bodyweight squat with a 3-second descent and a 2-second pause at the bottom
- Split squat, front foot flat, torso upright
- Rear-foot-elevated split squat with the back foot on a low stool
- Step-down from a stair, lowering the free heel slowly to the floor
- Single-leg squat to a chair, standing back up on one leg
The row ladder
- Doorway row — grip both sides of a sturdy frame, feet forward, lean back and pull yourself upright
- Towel row — loop a towel around a closed door handle, sit back with straight arms, pull your chest towards your hands
- Table row — lie under a sturdy dining table and pull your chest to the underside, knees bent
- Table row with legs straight
- Table row with feet elevated on a chair
Pulling is the pattern people quietly abandon because it is the awkward one to set up without a bar, and it is precisely the one desk workers need most. Test your table before you hang from it, keep your hips level with your shoulders, and drive your elbows towards your back pockets rather than out to the sides. If you have access to a park with a low bar, an under-bar row there is easier than any of the domestic improvisations.

Core work and conditioning, in their proper places
The abdominal muscles have one primary job in real life, which is to stop your spine moving when something else tries to move it. That is why the plan uses hollow holds, dead bugs and side planks instead of sit-ups. Anti-movement work transfers directly into a push-up that does not sag, a single-leg squat that does not twist and a back that copes with carrying shopping up three flights of stairs.
Progress a brace exercise the same way you progress everything else: longer levers before longer time. A dead bug with the heel tapping further away is harder than a slow one held for longer. When a hollow hold passes about forty-five seconds with a flat lower back, extend the arms overhead rather than adding another minute.
Conditioning belongs on separate days or at the very end of a session, never bolted into the middle. Two to three easy 25 to 40 minute walks, a bike ride or a session of low-impact intervals covers it, and it will do more for your cardiovascular health than any circuit of burpees. If you would like a structured version of that side of the week, our guide to walking for weight loss and steps per day sets out realistic targets, and cycling for weight loss and heart rate zones explains why most people ride too hard to benefit.
Breathless is easy to manufacture and easy to mistake for progress. Stronger is slower, quieter and shows up in your notebook.

Recovery, protein and the parts nobody photographs
Bodyweight training is gentler on your joints than heavy barbell work, which leads people to assume it needs less recovery. Not so. The stimulus that grows muscle is the stimulus that requires repair, and if you are taking sets close to failure three times a week then your requirements are the same as anybody else lifting three times a week.
Protein is the input that matters most. Somewhere between 1.4 and 1.8 grams per kilogram of body weight per day is the range most active adults do well in, spread over three or four meals rather than concentrated at dinner. For a 75kg person that is roughly 105 to 135 grams — eggs or Greek yoghurt at breakfast, lentils or fish at lunch, chicken, tofu or beans at dinner. No powder required, though a scoop is a convenient way to close a 25-gram gap on a chaotic day.
Two specific complaints come up often enough to name. Wrist discomfort under push-ups usually improves within a fortnight if you spread your fingers wide, grip the floor slightly, and spend two minutes a day on gentle wrist circles and loaded stretches. Front-of-knee soreness during split squats is a signal to shorten the range, slow the descent and back off the depth for a week rather than to stop training legs — and the strengthening work in our guide to low impact workouts for bad knees addresses the cause rather than telling you to avoid the movement.
On the days between sessions, move gently rather than not at all. A walk, a bike ride, or five to ten minutes of mobility work does more for how you feel in your next session than complete stillness. If mornings are your stiff time, the sequence in our morning stretch routine for stiff joints fits neatly before a Workout A.
- Starting on the floor because knee push-ups feel embarrassing. Four sagging floor reps train less than ten clean counter reps, and they train the wrong thing.
- Training every day because it does not feel like real exercise. Three quality sessions a week with rest between them beats seven half-recovered ones.
- Chasing rep numbers instead of quality. Thirty fast half push-ups is a cardio set. Twelve slow full ones is a strength set.
- Never progressing the leverage. If your workout is the same one you did in March, it is maintenance, and you should call it that.
- Skipping every pulling exercise because the setup is awkward. Your shoulders will send you an invoice around month three.
- Two-legged squats forever. Once you can pass twenty, they are a warm-up. Move to split squats.
- Sit-ups instead of anti-movement core work. Sit-ups train hip flexion; almost nothing you need core strength for involves hip flexion.
- Judging progress in the mirror on week three. Use the ladder rung you are on, your rep numbers and your tempo. Those move before your reflection does.
What eight weeks realistically looks like
Weeks one and two feel strangely easy and are frequently the hardest to get through, because nothing is dramatic. You are learning positions and your nervous system is quietly getting better at recruiting the muscle you already own. Expect soreness in your chest and quadriceps after the first two sessions and much less after that. Soreness fading is a sign of adaptation, not of the plan losing effectiveness.
Weeks three to five are where the plan starts to bite, because a four-second descent turns familiar exercises into unfamiliar ones. This is also the point where most people first notice something outside the workout — climbing stairs, carrying a toddler on one hip, standing up from the floor without using a hand. In my own follow-up records, that everyday moment is the single strongest predictor of who is still training at six months.
Weeks six and seven are the leverage change, and it is a deliberate shock. Dropping a surface height or moving to a step-down will send your rep numbers down from twelve to six, and that is exactly what should happen. You are not going backwards; you are training a harder version of the same movement. Most beginners earn their first clean full push-up somewhere between week five and week nine, women slightly later than men on average because of upper-body mass distribution, and it is worth precisely as much either way.
By the retest at the end of week eight, expect to have climbed one to three rungs on each ladder, added meaningful time to your hollow hold, and to be visibly firmer through the shoulders, arms and legs. In terms of tissue, roughly 0.25 to 0.5kg of new muscle per month is a realistic first-year rate when food and sleep cooperate. Slower than the internet promises. Considerably more durable.
Then do not go hunting for a more advanced programme. Run these eight weeks again from your new test results. The people I have coached who look genuinely strong three years later are not the ones who found a clever plan ��� they are the ones who repeated a simple one, wrote down what they did, and kept a floor free.
References and further reading
The training and nutrition recommendations above draw on peer-reviewed research and national clinical guidance. These are the primary sources.
- Physical Activity Guidelines for Americans, 2nd edition — muscle-strengthening activity recommendations for adultsU.S. Department of Health and Human Services
- WHO guidelines on physical activity and sedentary behaviour — twice-weekly muscle-strengthening recommendationWorld Health Organization
- Kikuchi N, Nakazato K. Low-load bench press and push-up induce similar muscle hypertrophy and strength gainJournal of Exercise Science & Fitness (PubMed)
- Schoenfeld BJ et al. Effects of low- versus high-load resistance training on muscle strength and hypertrophyJournal of Strength and Conditioning Research (PubMed)
- Calatayud J et al. Muscle activation during push-ups performed under stable and unstable conditionsJournal of Exercise Science & Fitness (PubMed)
- Morton RW et al. Systematic review and meta-analysis of protein supplementation on resistance training-induced gains in muscle mass and strengthBritish Journal of Sports Medicine (PubMed)
- Exercise, muscle strength and flexibility guidance for adults, including safe starting pointsNHS (United Kingdom)
- ACSM position stand: progression models in resistance training for healthy adultsAmerican College of Sports Medicine (PubMed)
Bodyweight training common questions answered
Can you really build muscle with only bodyweight exercises?
Yes. Muscle responds to mechanical tension taken close to failure through a challenging range of motion, and it does not distinguish between a dumbbell and your own body weight. When volume and effort are matched, studies comparing push-up training with bench press training in untrained people have found broadly similar hypertrophy. The genuine limitation is making lower-body work hard enough, which is why this plan moves to single-leg squats, split squats and step-downs early rather than doing endless two-legged squats.
How many days a week should I do a bodyweight workout?
Three sessions a week with a rest day between them is the sweet spot for a beginner. Two sessions a week still builds strength and simply takes about eleven weeks to cover what three does in eight. Training every day is the most common self-inflicted mistake — the adaptation happens during the 48 hours after a session, so removing that window removes most of the benefit.
How do I do my first full push-up?
Work the ladder rather than attempting the finished product. Find the surface height where eight controlled reps are hard but possible, add one rep per set each week to twelve, then slow the lowering phase to four seconds while holding reps steady, then drop one surface height and rebuild from six reps. Most beginners following that sequence three times a week reach their first clean floor push-up between weeks five and nine.
What can I use instead of a pull-up bar at home?
A sturdy door frame, a towel looped around a closed door handle, or the underside of a solid dining table all train the horizontal pull effectively. Test the anchor with your full weight before committing to a set, keep your hips level with your shoulders and drive your elbows back towards your hips. A low bar in a local park is easier again if you have one nearby.
How do I get progressive overload with no weights?
Pull one of five levers, one at a time: add repetitions, change the leverage by lowering the surface or moving to one limb, slow the lowering phase, increase the range of motion, or shorten the rest. Change only one per progression step and only after two consecutive sessions at the top of your rep range with clean form, otherwise you cannot tell what worked.
Do I need a mat or any equipment at all for this plan?
No. The plan requires a floor, a wall, a sturdy chair and a door frame. A mat makes floor work more comfortable and a folded towel does the same job. If you eventually buy one item, a single kettlebell or a pair of adjustable dumbbells opens up the most options — but that is an upgrade, not a prerequisite.
How long does it take to see results from calisthenics?
Strength and rep numbers usually improve within two to three weeks as your nervous system becomes more efficient. Visible change generally appears between weeks six and ten, and a realistic first-year rate of muscle gain is roughly 0.25 to 0.5kg per month when protein sits near 1.6g per kilogram of body weight and you are sleeping seven to nine hours.
Is bodyweight training enough on its own, or do I need cardio?
You need both, but keep them separate. This plan covers strength; two or three easy walks, rides or low-impact interval sessions a week cover cardiovascular health without interfering with recovery. Combining the two into one breathless circuit tends to compromise both — you finish exhausted without having trained either system properly.
Vitality Editorial Team
Vitality publishes practical fitness guidance based on cited sources and established public-health recommendations.
Medical disclaimer: This article is educational and general in nature. It is not a diagnosis, prescription or personalised training plan. Speak with a qualified healthcare professional before starting a new exercise programme, particularly if you have an existing condition, injury or are pregnant.